

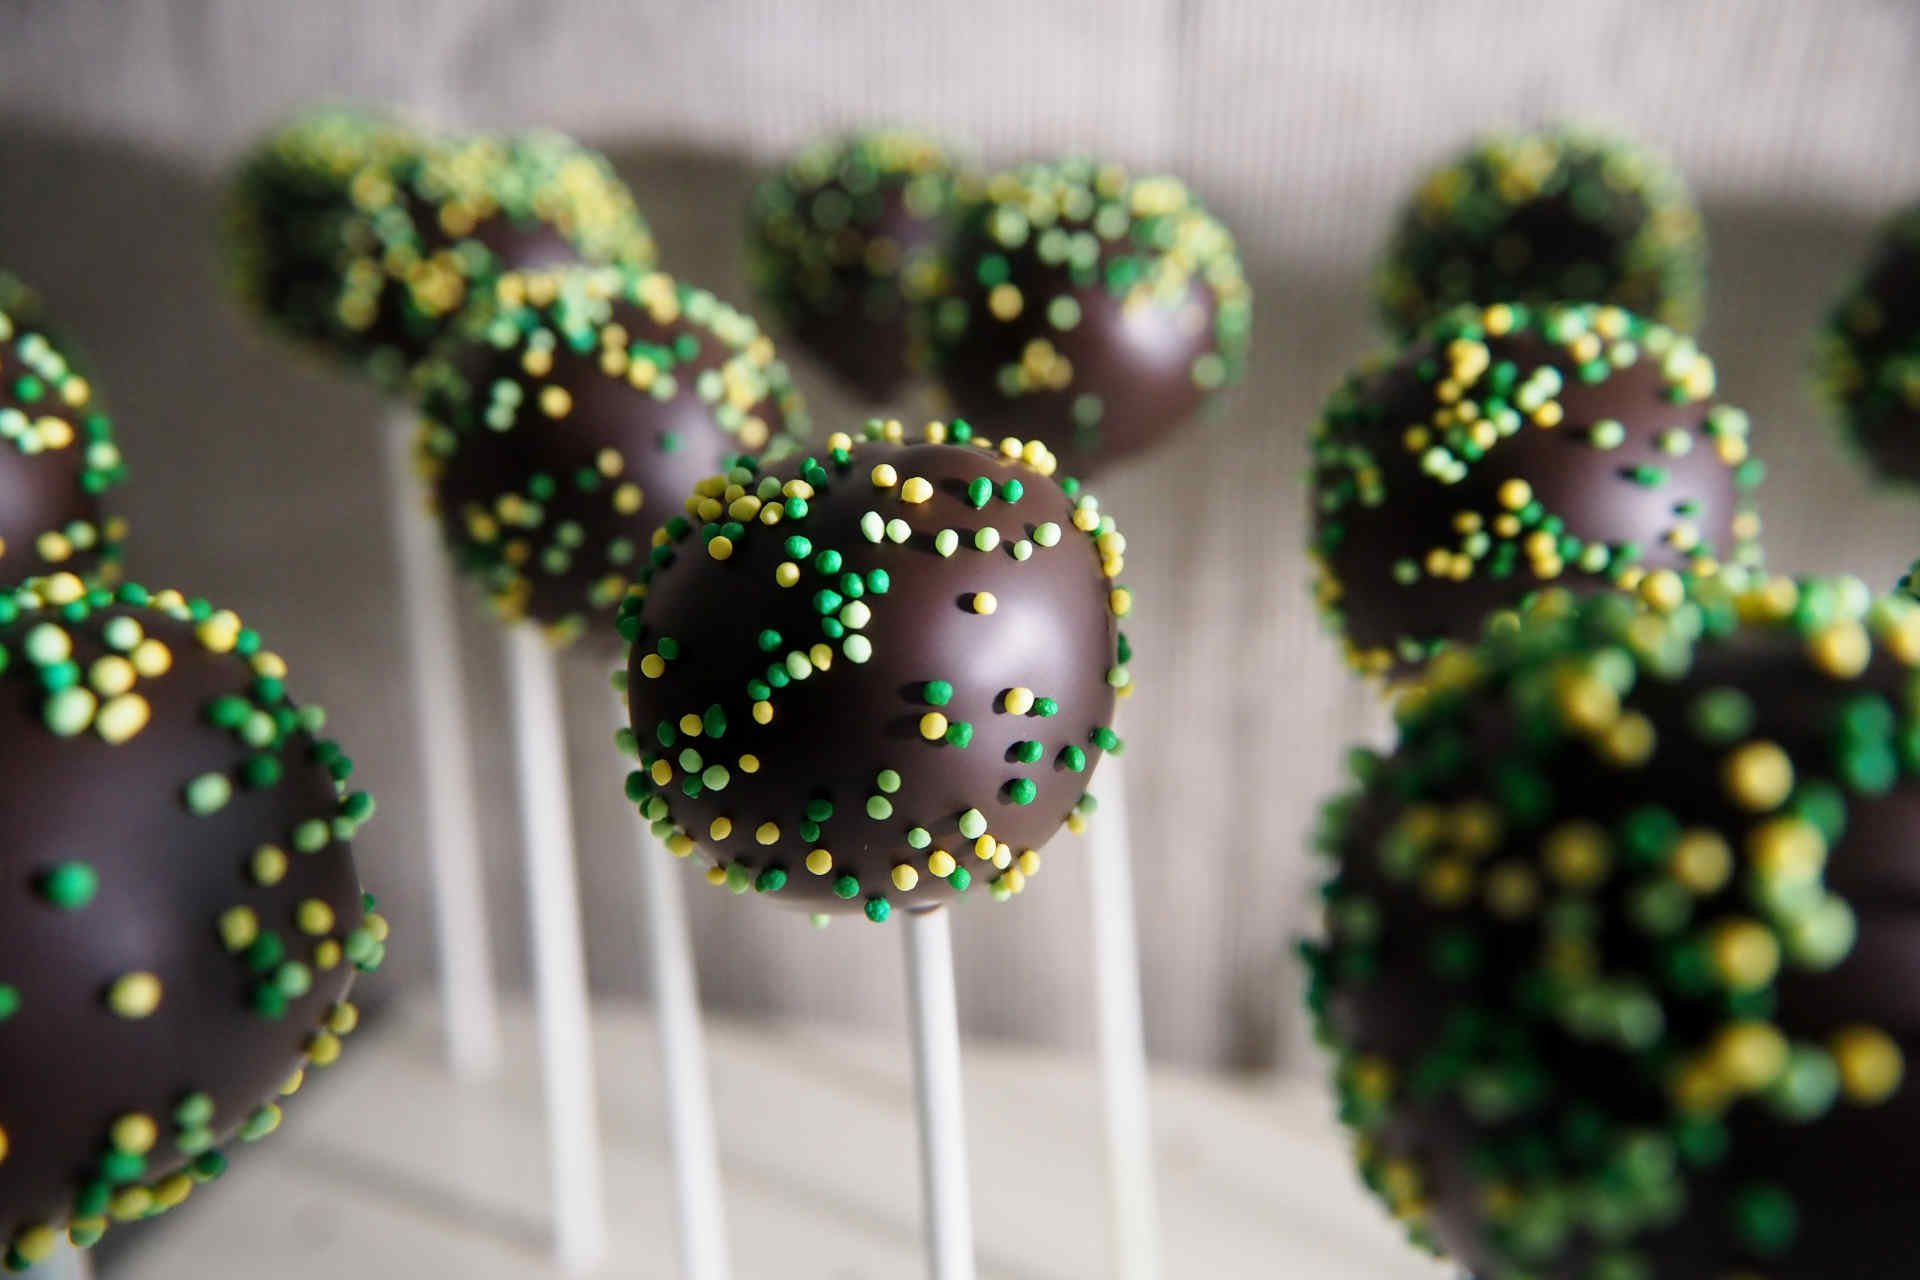
Cake pops with jam
Colorful mini cakes on a stick—perfect for preparing in advance and falling in love with
Cake pops are the perfect answer to everything that good cakes should be able to do today: they keep for several days and are wonderful to prepare in advance, they are a small sweet snack instead of a large piece of cake—and everyone simply enjoys them. Young and old alike love them, especially when they are colorfully decorated. When children are coming, they can be bright and playful, and for adults, elegant or minimalist. And by the way, cake pops are also the best way to turn leftover cake into something new and exciting.
This version with jam is particularly moist, fruity, and wonderfully malleable – ideal for perfectly smooth balls and a beautiful chocolate coating.
Preparation time: approx. 1.5 hours
Waiting time: approx. 20 minutes
Shelf life: 5–7 days when refrigerated

INGREDIENTS
Ingredients for approx. 25 cake pops
- 550 g ready-baked cake (preferably without chunks, e.g., sponge cake, biscuit, or marble cake)
- 55 g butter
- 50–100 g jam (preferably without seeds or fruit pieces)
- 25 lollipop sticks
- 350 g chocolate glaze
PREPARATION
- Crumble the cake
Use your hands or a fork to crumble the cake into very fine crumbs. The finer the crumbs, the smoother and more evenly the cake pops will be later. - Add the butter
Melt the butter and pour it over the crumbs. Mix everything thoroughly with a spoon. - Knead in the jam
Add the jam in portions and knead the mixture well until it forms a compact, moldable dough.Important: Do not use too much jam, otherwise the mixture will be too soft. Too little jam will make it too dry and crumbly.
- Form balls
Form balls about 3 cm in diameter from the mixture. The size should match the sticks: if the balls are too large and heavy, they may slip off the sticks later. - Optional: refrigerate
At normal kitchen temperature (approx. 20 °C), this step can be skipped. In summer or if the mixture is very soft, it is advisable to refrigerate the balls for about 30 minutes to make them firmer. - Prepare the chocolate
Melt the chocolate glaze. - Inserting the sticks
Dip each lollipop stick about 1 cm deep into the melted chocolate and then insert it into a ball. Wait briefly until the chocolate sets – this will help the stick stick better. - Glaze the balls
Dip the cake pops completely into the melted chocolate. Carefully turn them and tap them lightly to remove any excess chocolate.
Poke any air bubbles with a toothpick to ensure the coating remains smooth. - Leave to dry
Wrap a piece of Styrofoam in aluminum foil and stick the cake pops into it to dry. - Decorate
Sprinkle sugar or chocolate sprinkles onto the chocolate while it is still wet. For chocolate stripes in a second color, wait until the first layer is completely set.
Cake pops will keep in the refrigerator for about 5–7 days, making them perfect for preparing in advance for parties, children’s birthdays, or guests.